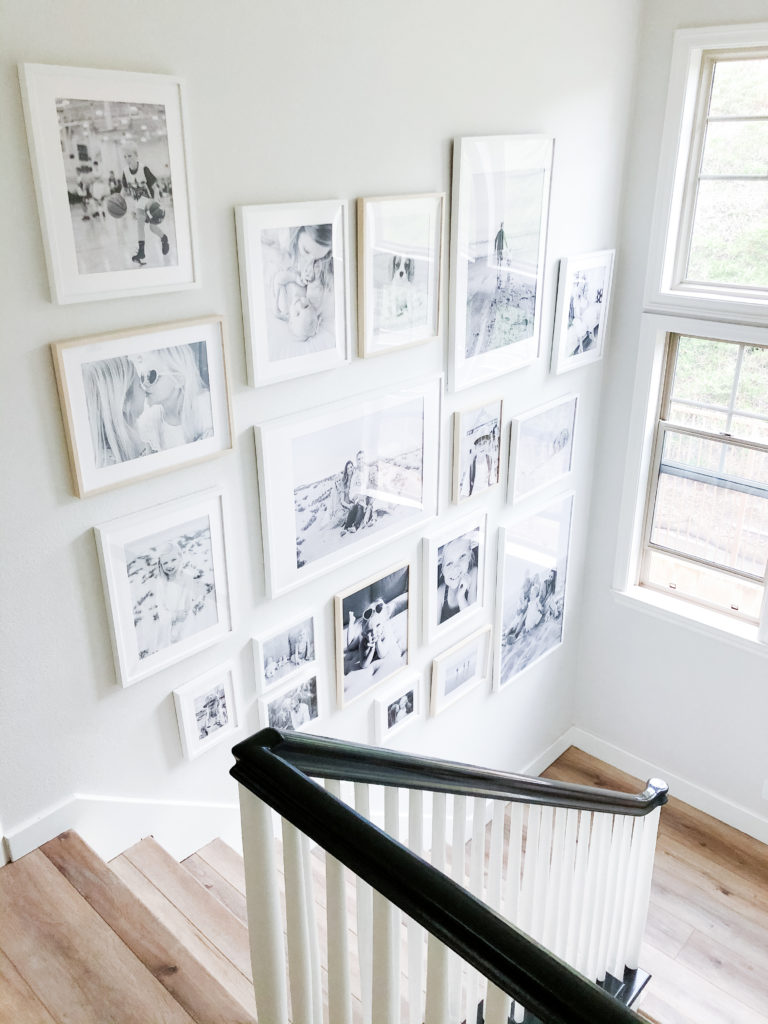
Stairway Gallery Wall
By far one of my very favorite projects to date that we’ve done in our home is the gallery wall on our stairs. To see all of their cute faces when I walk up or down the stairs makes me smile every time! And as cheesy as it may sound, seeing these photos so many times each day continually reminds me what is important in life. Family. And even if I’m running upstairs to switch the laundry for the 100th time that day, the photos somehow keep me in check and remind me not to sweat the small stuff.
Below I’m sharing a few tips on how we got this project done!
Choosing Your Frames
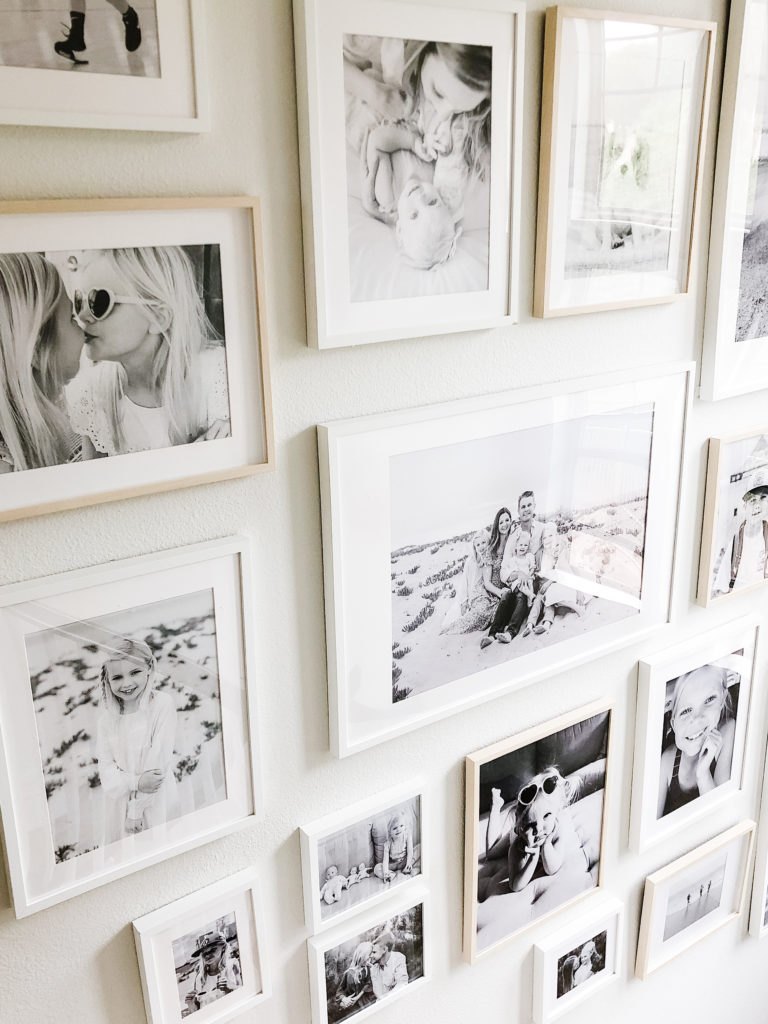
I find it easiest to choose your frames first. While I would have loved to have all of our photos framed via Framebridge, it just wasn’t in the budget for that large number of photos. So we decided to go the Ikea route instead! We used mostly the white Ribba frames with a few of the birch Hovsta frames mixed in.
The question I get asked most is how I planned out the sizing. I started by deciding how many large frames I wanted. I figured these would be the grounding frames and I chose to include 3 extra large frames, placing two in a vertical position and one horizontal. I eyeballed where these first large frames should go, and then estimated how many smaller ones in various sizes I might need. I ordered them all at Ikea online. I did end up ordering more then I needed, but it’s good to have a bunch of sizes to choose from when it’s time to hang everything.
The one downside to Ikea frames is they don’t offer the non-glare option. So when you look at the gallery wall from the side, unfortunately there is a lot of glare! While Framebridge doesn’t offer a true anti-glare acrylic, it is a higher quality so I’ve noticed a lot less glare on their frames. Again, unfortunately Framebridge wasn’t in our budget for this bigger project…but if it’s in yours I’d go for it!!
Choosing Your Photos
The photos we used for our gallery wall are a mix of professional photos and simple snapshots from our iPhone. I love how we’ve included a mixture of family shots, individual photos and different siblings. And one of baby Tucker of course!
Because all of the photos have different backgrounds, color stories and tones, it was important to me to unify them by making them all black and white. One of the easiest ways to change a photo from color to black and white is by using a preset. There’s often a general black and white option on most photo editing apps, but I happen to love the Nostalgia Timeless preset by Monika Hibbs. It’s often a one click edit, especially on iPhone snaps. You can purchase the presets here.

Printing Your Photos
While I use a professional lab to print my photos, there are a lot of good retail options too. The giclee prints from Artifact Uprising and Mpix are both great options. The key is to print on a high quality matte or fine art paper, it truly makes all the difference!
Hanging Your Frames
Okay, now for the fun part! Or not so fun, ha!! Once I put all of our photos into the frames, my husband was able to tackle the hanging in an afternoon. I always get asked if we planned out where exactly to hang the frames, but again I really just planned roughly where the 3 large frames would be hung. We started at the stairway landing and hung one large frame, and then just started building from there, picking frames that we thought would work best. It is NOT perfect and my husband had to get creative hanging the higher ones. But any little imperfections are completely forgotten when you see the overall effect of this huge gallery wall. I just love it so much!!
Feel free to reach out with any questions regarding this project, always happy to help!