Planting Paperwhites
One of my favorite ways to decorate for any season is by bringing nature indoors. While fresh, beautiful cedar garlands draped over every doorway and mantel would absolutely be my preference for winter, I think you all know by now I go faux on these instead. Paperwhites, in my opinion however, are the perfect way to bring something fresh and natural into your holiday decor. They are easy to plant, easy to grow, and last a long time. I like how they look even when they are just buds peaking out of the container, and it’s fun to watch them grow throughout the season! A little tip…if you plant multiple containers but space out the planting times by a week or two…you’ll have paperwhites all season! The containers I’ve shown them in here is unfortunately no longer available (I purchased it from the now closed Wisteria)…but I’ve linked a bunch of great options below! And a link for the preserved moss which I love!
PLANTING PAPERWHITES:
- Choose your container – you’ll want to choose a container that does not have drainage holes. Bowls, indoor planters, wide mouthed jars….so many things will work!
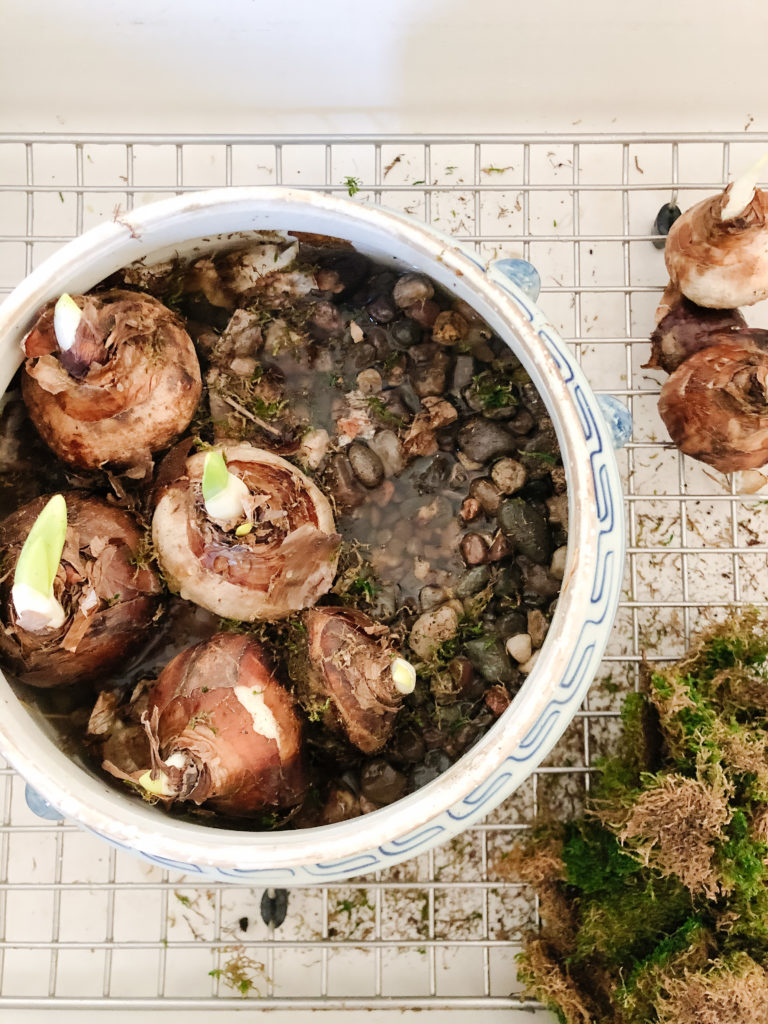
- Fill the container about half or three quarters of the way full with pebble rocks. Home Depot stocks pea gravel rocks for about $4 a bag. This is what I used in my own container.
- Place your bulbs pointy side up, and close together, on top of the rocks.
- Fill container with water, just up to the level of the bulbs.
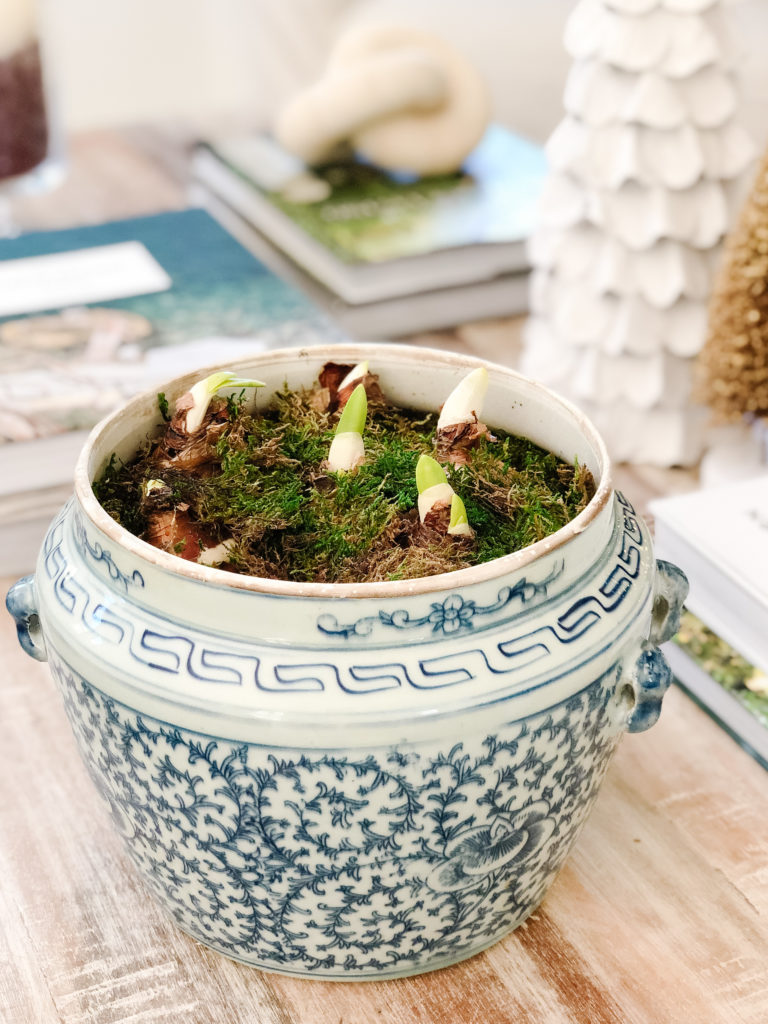
- You can choose to fill around the bulbs with more rocks, or I like to add in preserved moss.
- Place your bulbs in a spot that receives sunlight and watch them grow!
